Install Mikrotik on Google Cloud, is a cloud platform service that is very well known. Yes, Google did make Google Cloud for various purposes.
Whether it’s for large-scale business, or for personal use. With an affordable subscription price and a variety of very beneficial features, making it the best cloud service.
Now, the problem is how to install Mikrotik on Google Cloud. Why Mikrotik? Yes, because the quality has been proven.
Without further ado, here’s how to install Mikrotik on Google Cloud.
Table of Contents
Why You Should Use Google Cloud
- Security is maintained, so you don’t need to hesitate to entrust your data to Google
- with very high flexibility, so you can determine the resources and storage you need. So you just pay for what you choose
- Google Cloud has its own data center in Indonesia
- Free trial for 3 months, you can get a nominal value of up to $ 300, you can use all services on Google Cloud for 3 months
Why you have to use Mikrotik
- Image is easy to get, all image is clearly displayed on the Mikrotik website.
- Abundant features, so that it can help you
- Can become a VPN Concentrator, is a type of network device that provides the creation of secure VPN connections and sending messages between VPN nodes. This is a type of router device, specially made for creating and managing a VPN communication infrastructure.
How to Install Mikrotik on Google Cloud
- Go to the Mikrotik website at https://mikrotik.com/
- Click the software tab, look for the Cloud Hoster Router column and download the Raw disk image, select the stable column
- After the download is complete, extract the file
- Enter Google Cloud at https://cloud.google.com/ and login with your account, if you do not have an account, can sign in
- the yard At the beginning, click the console at the top right corner, next to a Profile
- Create a new project in the “New Project”
- Name the line with you want, as long as it is easy to understand, wait for all processes to finish
- Enter the project, then enter the “Storage” manu.
- Create a bucket first with a name that is easy to memorize too, and click “Next”
- Select the type of location according to what you need.
- Also select the location you want want and click “Next”
- Click “Next” again
- Enter the bucket and select “Upload file”, and upload the extracted file, wait until the upload process is complete
- Enter the “Compute Engine” menu in the navigation panel
- Enter the “Image “
- Wait until the Compute Engine is ready.
- Click” Create Image “
- Give the name according to your wishes
- For the source, select” Virtual disk (VMDK_VHD) “
- Activate the Cloud API
- Select the Cloud Store file, select the file that was uploaded earlier
- Select” No system o Perasi “and click” Create “, wait until the image creation is complete
- Enter the VM Instance
- Machine group you can choose according to your wishes
- Series can be selected as desired
- Then for the type of machine, select only” Micro “, the price will appear below according to what you ordered
- For “Boot Disk”, the fruit with the appropriate you created a
- Boot Disk Type select SSD for fast, and click “Create”, wait until the process is complete.
- Next step to the Navigation panel and select “VPC Network” and select “Firewall”, click create .
- Logs can be activated, but there are additional costs, but if you don’t want to be activated, you can also
- In “Traffic Direction” select in.
- Then in “Actions if there is a match, select” Allow “
- For” Target “, select” All instances in the network “
- Source filter select “IP Range”
- Vulnerable Source IP can be inputted 0.0.0.0
- For “Protocol and Port”, enter tcp with “22,23, 8291, 80, 443” then click “Create”.
- To know the IP, enter the External Ip Address, copy IP address and try to open Winbox.
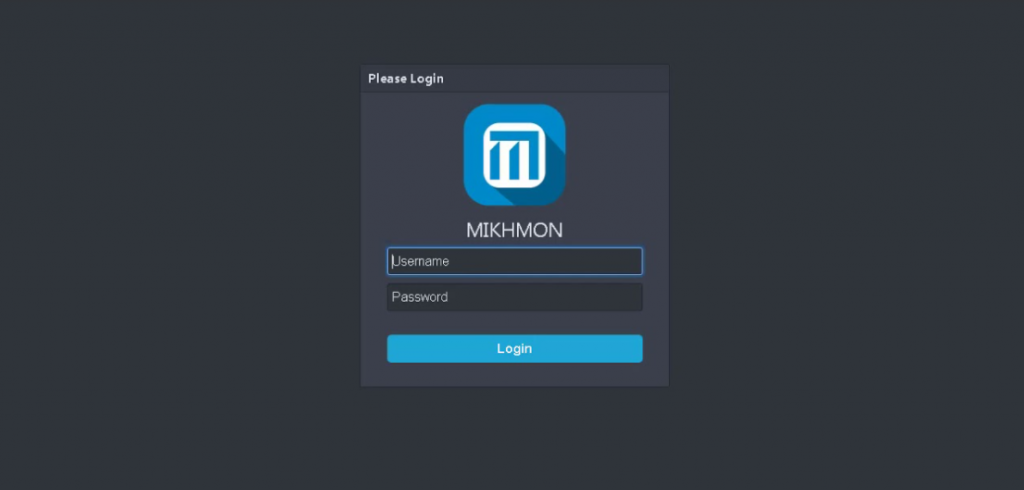
- Just connect to paste, enter the login and password by default.
- If successful, then Mikrotik can enter the
Mikrotik Install Tutorial on Google Cloud
So many tutorials on how to install Mikrotik on Google Cloud, hopefully it helps and is useful.
![]()


