
Before getting into the main discussion, namely accessing Winbox via Android, of course you have to know what Winbox is. Winbox is a small application that can be used to run administration on Mikrotik RouterOS quickly and with a GUI display.
Table of Contents
How to Access Winbox via Android
There are more than one step that we can use to remote the Mikrotik router. Among them are often used based on GUIs such as Winbox and Webfig. In addition to these two applications, Mikrotik has recently developed an Android-based application.
Winbox Android will certainly be simpler and you can set it anywhere according to your wishes. very profitable right? Therefore, it is not surprising that Winbox knows what the user wants.
Check Router Products from NetData here:
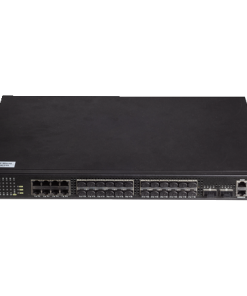

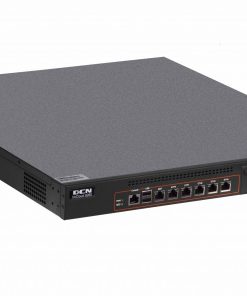
Networks
Inspur
Networks
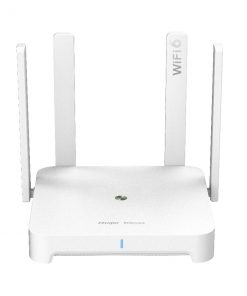
Access Point
Access Point
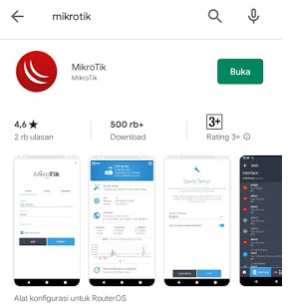
Download Winbox for Android
You can download Winbox applications for android on the Play Store. Winbox Android you can download for free. So, you can try it whether the Winbox Android application will be easier or not.
Actually, if the need is only for remote Mikrotik with Gadgets, you can use Webfig. But because you need to use a web-browser, with this Mikrotik application you can remote your Mikrotik comfortably like in Winbox.
After you download it, the initial display is the login page. How to log in to Wifi Mikrotik is quite easy:
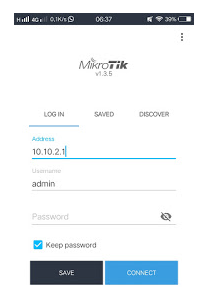
- Fill in the Mikrotik Router IP which will be remote
- Fill in the username
- Fill in the password according to what you have set
If successful, then the main menu will be as follows:
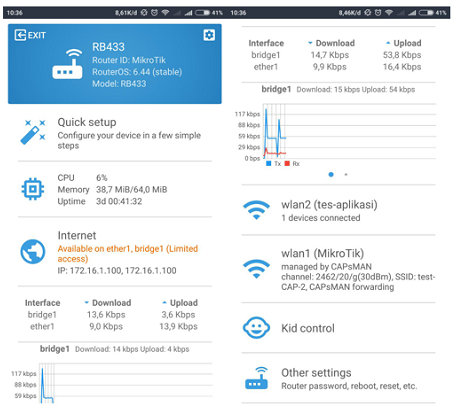
Configuring MikroTik via Android Apps
Information provided about the router in the application Winbox for Android is like this:
- Quick Setup
Used to quickly configure the Router. You can see an example of a Quick Setup implementation in our article entitled Configuring a Wireless Router in a Few Clicks.
- Resource
You can reach our resources from devices such as CPU, Memory, and Uptime devices.
- Internet Detected
There is an Internet detected feature that can be used to understand the WAN path on your device. If this feature has been successfully executed, you will see traffic info from the WAN and local interfaces on the router.
- WLAN interface
If the router has a WLAN interface, you will see how many clients are connected to the AP.
- Auto Upgrade
You can also upgrade your router by pressing the Auto Upgrade button. The Auto Upgrade feature is similar to the Auto Upgrade contained in the system menu -> Package.
- Kid Control
This feature can be used to manage the client together easily, we can schedule users to connect to the internet only on certain days or at certain hours.
- Other Settings
In Other Settings you can reset the configuration, reboot, or change the user password.
Then to configure the IP Address, firewall, Queue, and others you can find it by pressing the gear button contained in the upper right corner.
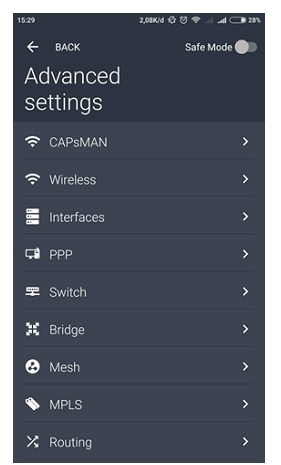
This Mikrotik application includes being able to take advantage of the terminal features contained in Winbox.
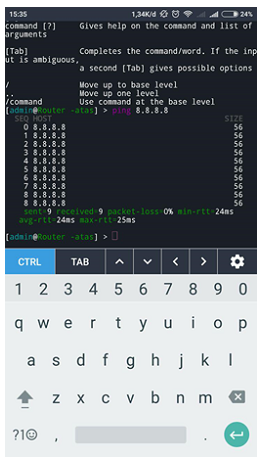
On the top right there is a safe mode button, this safe mode button also works like the safe mode button on Winbox, this button is used to Minimize Configuration Errors.
Frequently Asked Questions There
are several cases that often occur. Among them are:
Mikrotik Application Login Page Not Appearing on Android
Fix DNS settings first.
- Open IP> DNS comes from Winbox, make sure allow remote request is checked
- Open IP> DHCP SERVER> open the NETWORKS tab, select the IP used in your hotspot along with the step of double clicking on the IP for example 10.5.50.0/24
- Fill in the DNS section together with hotspot gateway if 10.5.50.1
Next step is Create static DNS
On Android connection check will generally be directed to the following URL:
clients1.google.com
clients3.google.com
connectivitycheck.android.com
connectivitycheck.gstatic.com
For that you have to redirect domain to an unused / inactive IP address in this way:
- Using Terminal
ip dns static add name = clients1.google.com address = 10.0.0.1
ip dns static add name = clients3.google.com address = 10.0.0.1
ip dns static add name = connectivitycheck.android.com address = 10.0.0.1
ip dns static add name = connectivitycheck.gstatic.com address = 10.0.0.1
Using DNS go to IP> DNS> click the static button

Using DNS open IP> DNS> click the static button
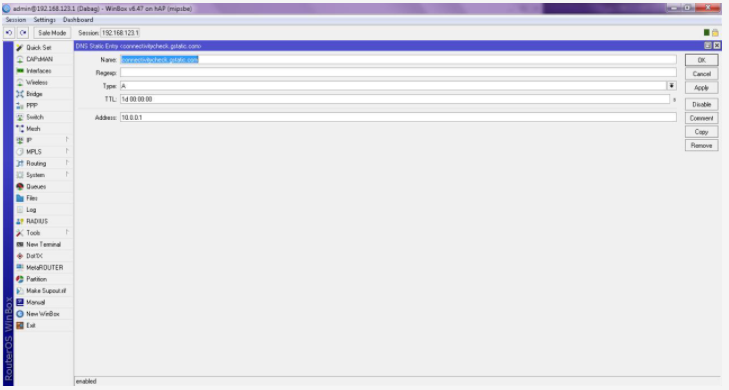
- Click the add button (+)
- Name is entered along with the domain above connectivitycheck.gstatic.com
- Address is in an inactive IP, for example 10.0.0.1
- Click Ok
- enteredRepeat the steps above and enter the 4 domains above
How to Save Logs Mikrotik Application
Saving this Mikrotik log is to save it to your email.
The trick is as follows:
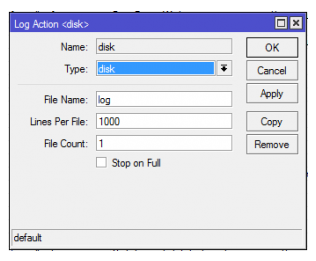
- Change the logging Type to Disk
Here you make the settings for the Log Action as follows, where for example, the file name is given the name log
Type: disk
File Name: log
Line Per File: 1000
File Count: 1
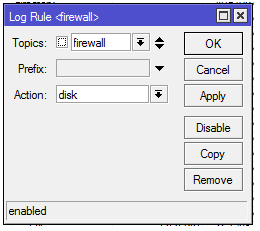
Then in the change rules tab type logging so Action = disk, you can add more than one Topics for the logging type.
- E-mail Settings
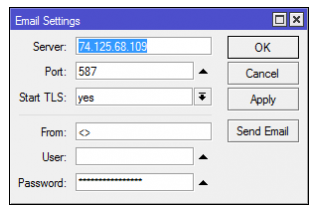
In order to be able to use the e-mail feature on Mikrotik you first set the settings for the email, because here it uses the Gmail server so the settings are as shown below:
Server: 74.125.68.109
Port: 587
Start TLS: yes
User + Password: fill with a Gmail account
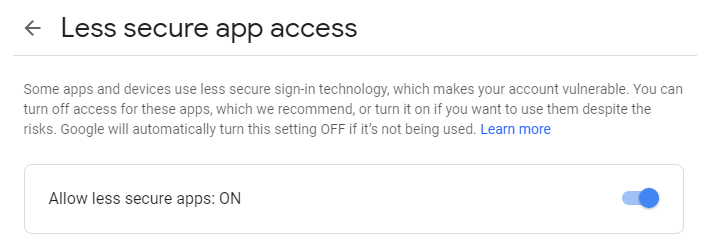
Make sure login access from a third party on your Gmail account is active by going to the next page, don’t forget to log in first to your Gmail account https://myaccount.google.com/u/0/lesssecureapps
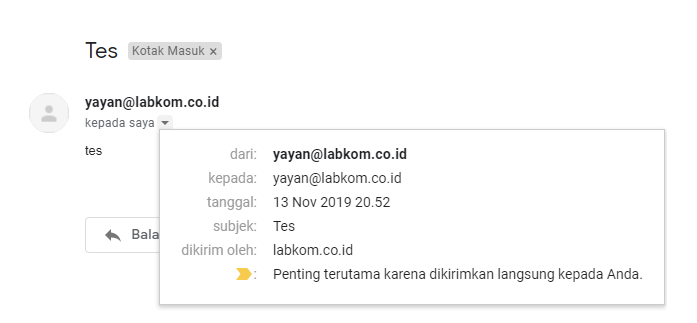
If Mikrotik has successfully sent an email like the example below, the next step can be done:
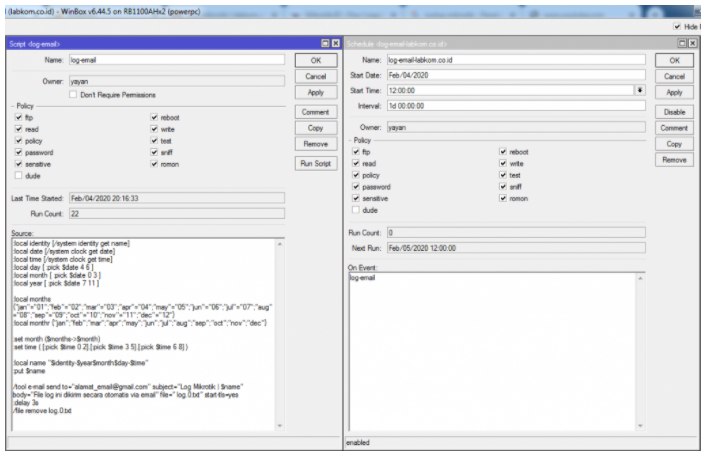
- Create a Script Scheduler
Next is to send a log.txt file using the script below which will be run using the System Scheduler with 1d (1 day) intervals, where after running the command to send the log.0.txt file to email, it will then run the command to delete the log.0.txt file.
So every day the log files will be replaced with new log files.
For example, using the scheduler with Start Time = 12:00:00 and Interval = 1d, where this script will be done every day at 12:00.
Done, now the Mikrotik log file has been sent periodically to email.
How to Add Users in Mikrotik Application
For how to add Mikrotik users, the method is actually quite easy. However, this method can only be done in the Mikrotik PC application, not in the Mikrotik Android. Here is how:
- Login to Mikrotik using Winbox
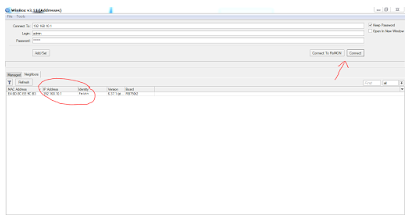
- Then enter “system” “user” which is on the Mikrotik routerboard menu display
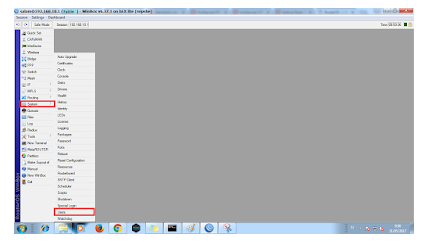
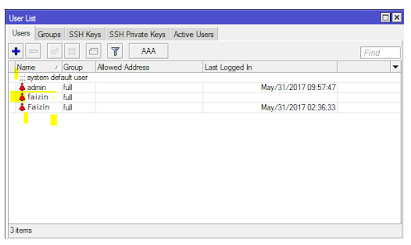
- Then create a new user as shown below:
name: it’s up to you
group: full <so you can access all>
passwords : up to you.
- After that an image will appear as below:
![]()
