
The internet is indeed something that is very much sought after by many people, especially when in public places to find a wifi signal. Talking about wifi, of course there are devices that transmit this wifi signal, be it a router or an access point. However, most people use the access point to transmit internet wifi because it has an easier Konfigurasi AP.
Configuring AP or access point is identical to the traditional way of connecting to it using localhost. But this time we will discuss about AP configuration with the Ruijie brand through the Ruijie Cloud. Here are some steps for Konfigurasi AP via Ruijie cloud.
- First of all you have to set up the access point device.
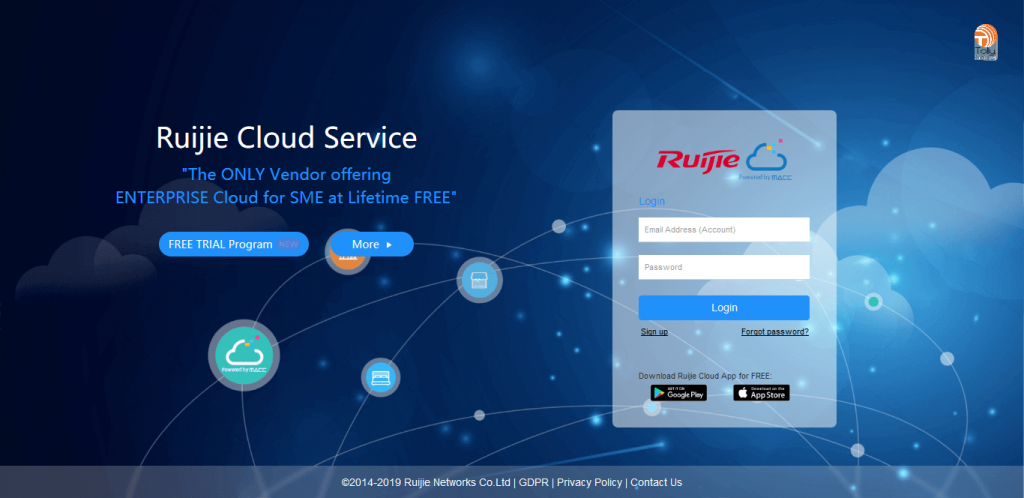
- Open your browser on your computer and access the address cloud-as.ruijienetworks.com.
- Enter your username and password if you already have an account.
- If you don’t have an account, you must first register a Ruijie account.
- If you already have an account and are logged in then you can connect the ethernet cable to the Ruijie access point and turn on the AP device.
- If you have entered the main Ruijie cloud page, you can immediately open the CONFIGURATION> NETWORK> ADD NETWORK menu.
On the Add network menu we will add or register a new AP network.
- Fill in Name: the content is up to you, but this time I demonstrated it with NDS
- Scenario: adjust to your needs and your area, for example Villa / Home
- Timezone: you can choose Jakarta
- Type : Cloud + AP
- Bind Location: fill in according to your local city, for example Jakarta, Indonesia
- Click next
On the Wifi Settings menu
- Fill in the SSID: according to your wishes, for example NDS
- WPA / WPA2-PSK Password: 12345678 (whatever)
- Save & Next
On the Add Device Menu
- Fill in 1 SN: (fill in the access point Ruijie serial number that is on the device or on the box)
- Alias: NDS-AP (the alias will appear as the name of the wifi signal, fill in as you wish)
- Save & Next
If so, in the Menu section MONITORING> Device> AP.
Here you will see 1 device with a config status that is still Synchronizing.
After waiting a few minutes, the config status will change to Synchronized.
At this point the configuration of the access point is complete. You can directly connect to wifi under the name NDS-AP or according to the alias. Until here, hopefully it will be useful and keep up the spirit!
If you interested, you can contact us directly here.
For a more complete tutorial, please go to the YouTube video below!
![]()
